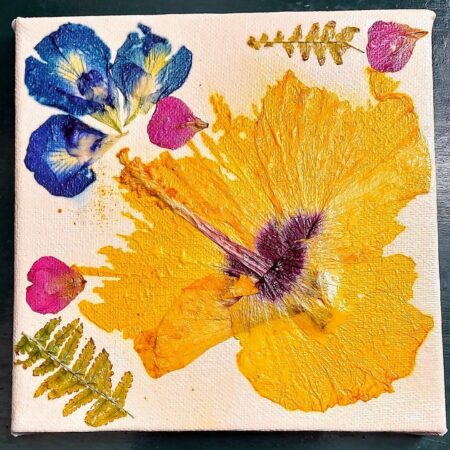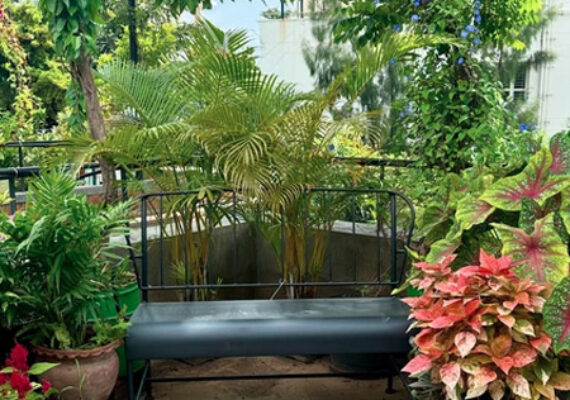
I wanted to capture the beauty of my garden and use it as decor. One way to do this is by creating pressed flower art, which is both simple and meaningful. Here’s how you can preserve your garden and turn it into something you can display or gift.
Steps to Make Pressed Flower Art:
- Pick Flowers in Full Bloom
Choose flowers that are in their prime, as they’ll give you the best shape and color once pressed. The more vibrant the bloom, the better the results! - Microwave the Flowers
Place the flowers between layers of absorbent tissue paper and microwave them for a couple of minutes. Be sure to place something heavy on top of the tissue to flatten them completely. They should become paper-like when pressed flat. - Arrange the Flowers on Canvas
Once your flowers are pressed and dried, arrange them on a stretched canvas to create your final layout. Play around with the design until you’re happy with it! - Chalk Paint & Mod Podge
Paint the canvas with chalk paint and use Mod Podge to glue the pressed flowers to the surface. The flowers will stick easily. - Seal with Mod Podge
After letting the canvas dry for a couple of hours, apply another coat of Mod Podge on top to seal the flowers. Allow everything to dry completely.
And that’s it! You now have a beautiful piece of art that captures your garden forever. Whether you choose to display it or gift it, this DIY project is a wonderful way to preserve nature’s beauty.


